(Without Feeling Confused)
If you've ever searched for guitar chords online or opened a songbook, you've probably seen strange-looking boxes filled with dots and numbers.
Good news—they're much easier to understand than they look.
Once you know how to read a chord diagram, you'll be able to learn thousands of songs, follow online tutorials, and quickly recognize new chords. Think of chord diagrams as a map showing you exactly where to place your fingers.
Let's break them down.
What Is a Chord Diagram?
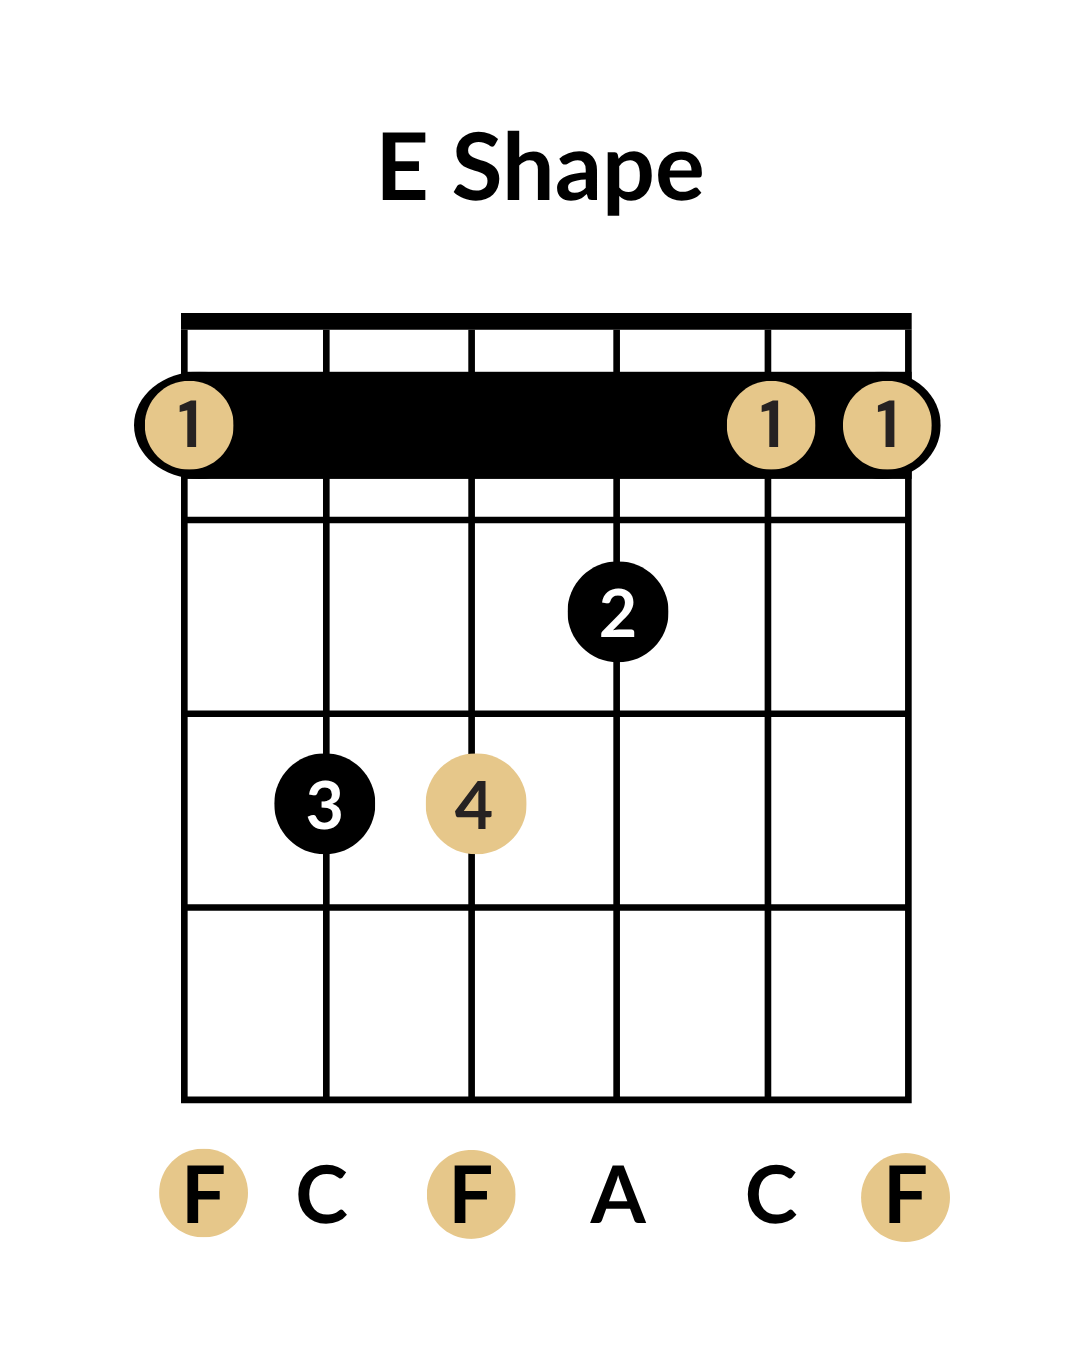
A chord diagram is a simple picture of your guitar's fretboard viewed from the front.
Instead of reading complicated sheet music, you simply follow the diagram to place your fingers on the correct strings and frets.
Within seconds, you'll know how to play a chord—even if you've never seen it before.
Understanding the Strings
The six vertical lines represent your guitar strings.
From left to right:
- 6th string – Low E (the thickest string)
- 5th string – A
- 4th string – D
- 3rd string – G
- 2nd string – B
- 1st string – High E (the thinnest string)
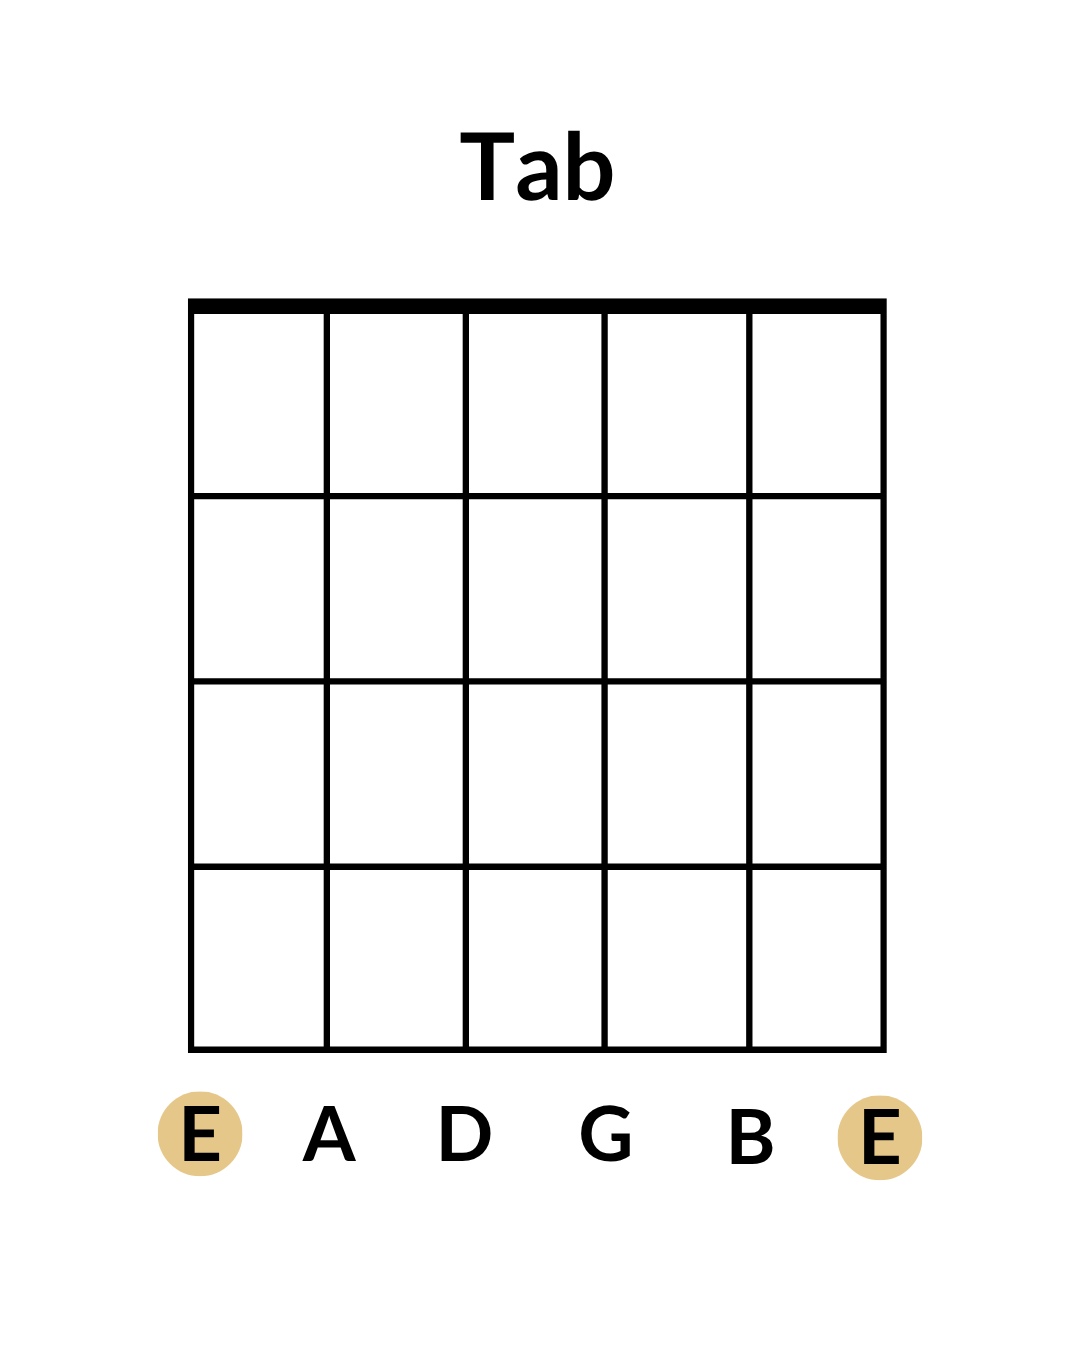
A simple way to remember them is:
E A D G B E
Don't worry if you can't memorize them immediately. Some like to use a mnemonic technique by memorizing the following phrase: Eddie Ate Dynamite, Good Bye Eddie.
Regardless how you choose to memorise the strings, remember: every guitarist started here and with a little practice they'll soon become second nature.
Understanding the Frets
The horizontal lines represent the frets on your guitar.
The thick line at the very top is the nut, where the strings begin.
Each space below it represents another fret.
If a diagram starts higher up the neck, you'll usually see a number (such as 5 or 7) indicating which fret you're looking at.
What Do the Dots Mean?
The dots tell you exactly where to press the strings.
Each dot shows:
- Which string to press.
- Which fret to press it on.
Some diagrams also include numbers inside the dots.
These numbers tell you which finger to use:
- 1 = Index finger
- 2 = Middle finger
- 3 = Ring finger
- 4 = Pinky
Following these fingerings helps you move more efficiently between chords later on.
What Do X and O Mean?
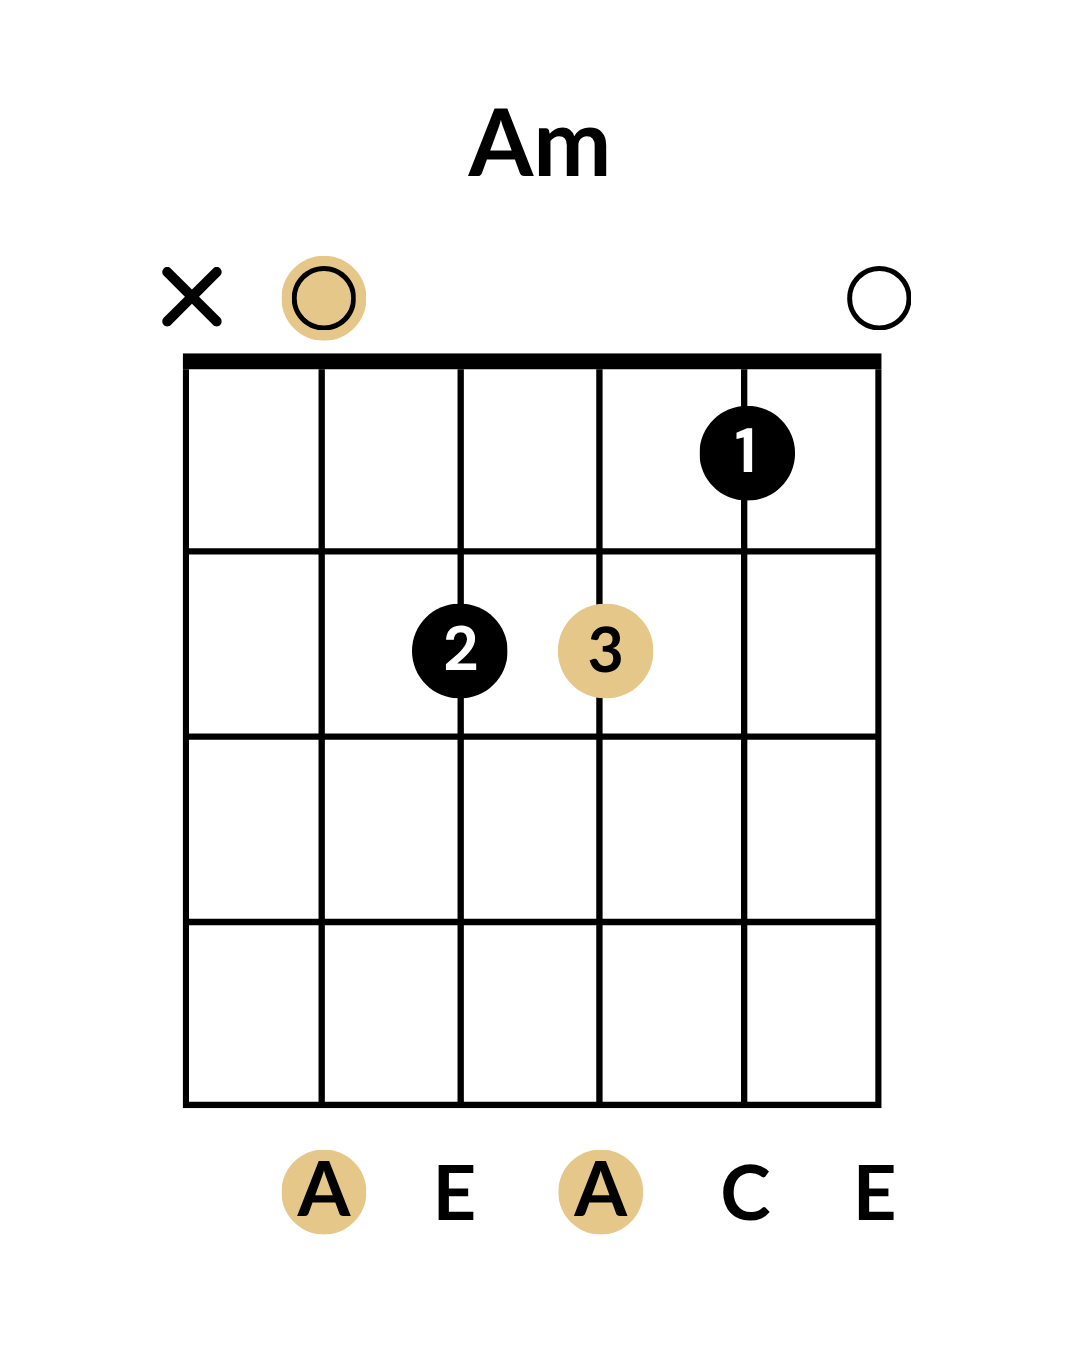
At the top of many diagrams you'll notice either an X or an O above each string.
O (Open) means you play the string without pressing it down.
X (Muted) means you don't play that string at all.
Knowing the difference makes your chords sound much cleaner.
Feel free to check our previous blogpost with a more comprehensive explanation of how to read chord charts and tabs.
 Florian Lettner
Your First Chord
One of the easiest chords to start with is E minor (Em).
It's popular for a reason:
- You only need two fingers.
- It sounds full and rich.
- It's used in countless songs across rock, pop, country, and folk music.
Place:
- Your middle finger on the 2nd fret of the A string.
- Your ring finger on the 2nd fret of the D string.
Leave all the other strings open and gently strum all six strings.
Congratulations—you've just played your first chord!
Common Beginner Mistakes
If your chord doesn't sound quite right, don't worry. Try checking these common issues:
- Press close to the fret wire instead of directly on top of it.
- Curve your fingers so they don't accidentally touch neighboring strings.
- Press firmly, but don't squeeze harder than necessary.
- Play each string individually to find any muted notes.
Even experienced guitarists do this whenever they learn something new.
Practice Challenge
Take five minutes today and learn these three chords inside the Fretello app:
Don't worry about changing between them quickly yet.
Focus on placing your fingers correctly and producing a clean sound.
Speed will come naturally with practice.
Looking Ahead
Now that you know how to read chord diagrams, you've unlocked one of the most important skills in your guitar journey.
In our next lesson, we'll learn how to combine these chords with simple rhythm and strumming patterns. That's when your playing will really start to sound like music.
Until then, keep practicing—and remember that every clean chord you play is another step toward your first complete song.